In traditional darkroom photography the photographer had the choice of cropping the shot to just the image or preserving the ragged edges of the negative. This is also something found in more intentionally primitive modes of photo image making like pinhole photos or cyanotypes. This tutorial will outline one method of achieving this effect.
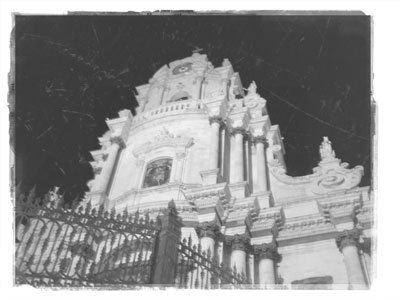
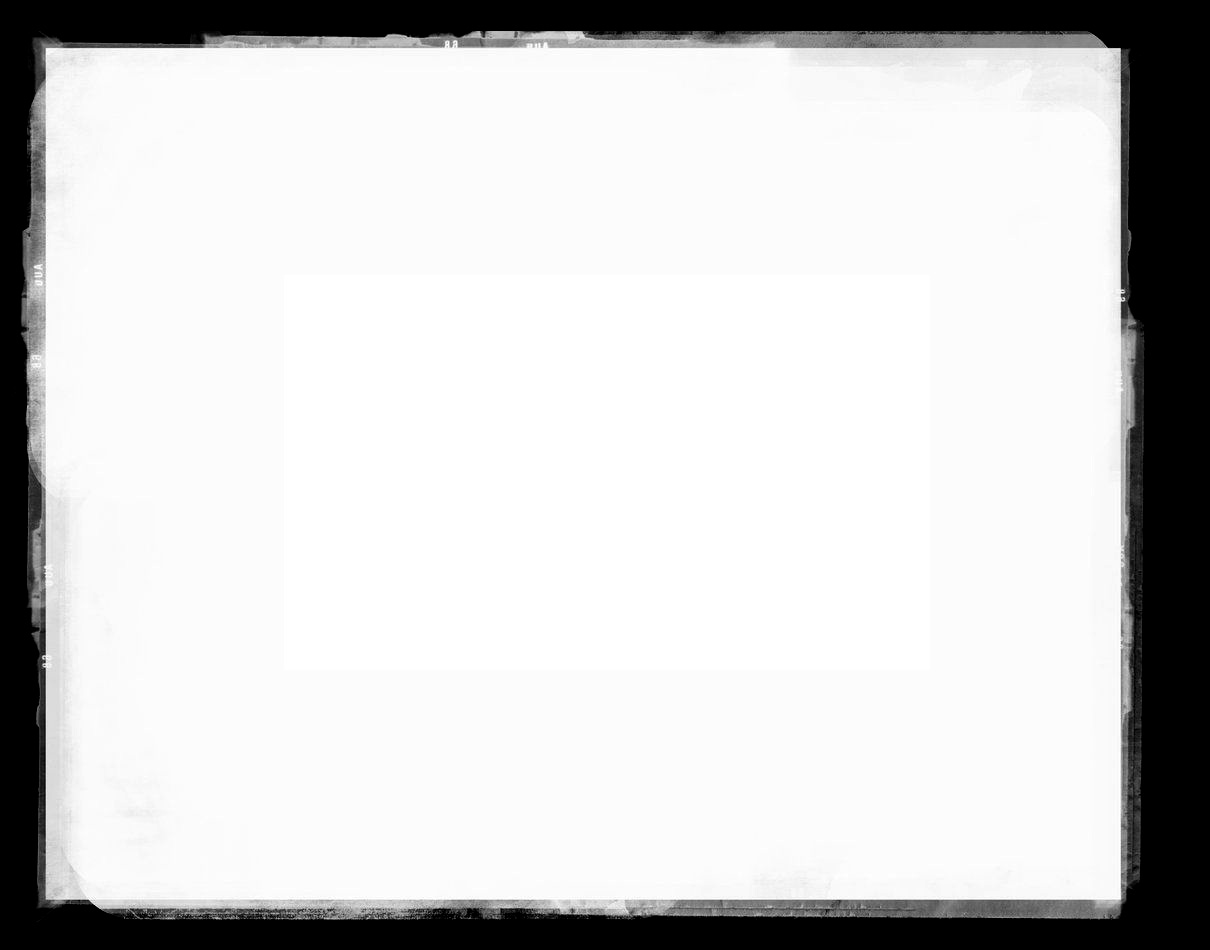
1. Open the image you want to apply a ragged frame to in Photoshop – a photograph that has been adjusted to look black and white or aged typically works best. Next place (FILE menu > PLACE) in a ragged border that you want to use, if you can’t find one, use this one. Resize it to fit the image size and commit the transformation (double click or click on the check mark at the top of the screen)
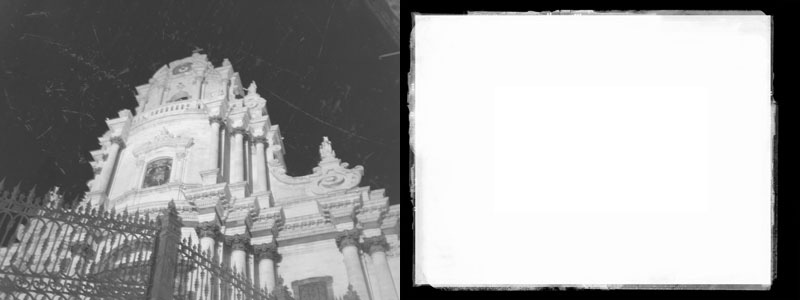
the original image on left and the placed frame on right
2. The effect I’m looking looking to achieve is for the ragged border itself to be white and for the inside portion to disappear. This will be achieved via layer modes and an adjustment layer. But first, lets look at what we DON’T want.
In this version, the layer mode for the placed frame was set to MULTIPLY. This will make the white area invisible and retain the black from the frame. This is close, but we need the opposite.
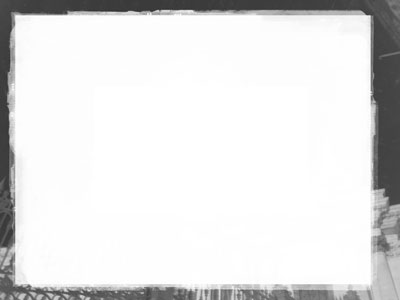
In this version the layer mode was turned to SCREEN, this makes the black disappear but retains the white. This is even closer, but we will need to INVERT the frame layer to make it perfect.
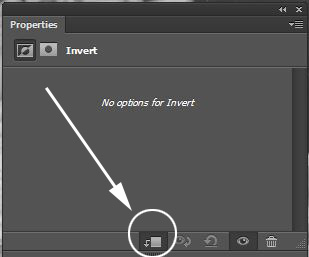
3. To Invert the frame, use the Invert Adjustment Layer. This will have the immediate effect of inverting everything in the image which is not desirable. Instead we will limit the inversion to only the layer below by clicking the Clip to the Layer Below icon on the properties for the adjustment layer.
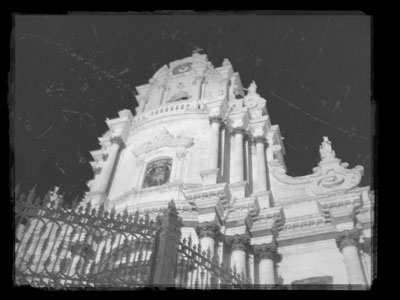
The resulting image