
Another super simple repeat. Of course plaids can get very complex but here are some easy steps to get you started.
1. Turn on the grid (VIEW menu > GRID) and snap to grid (VIEW menu > SNAP TO GRID) and zoom into a 1″x 1″ grid square
2. Choose a solid color (no gradients or pattern swatches) for your fill and make your stroke color NONE.

3. In the upper left of the large 1″ x 1″ grid square, use the rectangle tool to draw a 1/2″ x 1/2″ square (it will be 4 small grid squares wide, by 4 small grid squares wide). Then choose another color and draw a 1/2″ x 1/2″ square adjacent to the right and using the same color draw one below the first square.
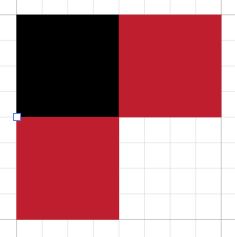
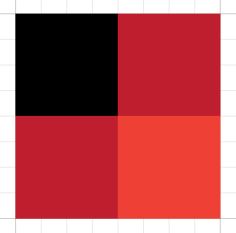
4. Select another color and draw a square to fill in the last square.
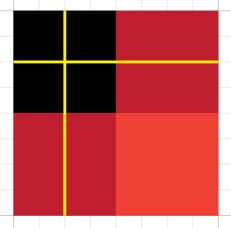
5. Deselect the squares (SELECT menu > DESELECT) Change your colors so that the fill color is NONE and the stroke color is an accent color.

6. Using the line tool or pen tool draw perfectly horizontal and vertical lines across the design (from edge to edge)
7. Select the 4 squares and 2 lines with the Black Arrow and drag them into the SWATCHES panel.
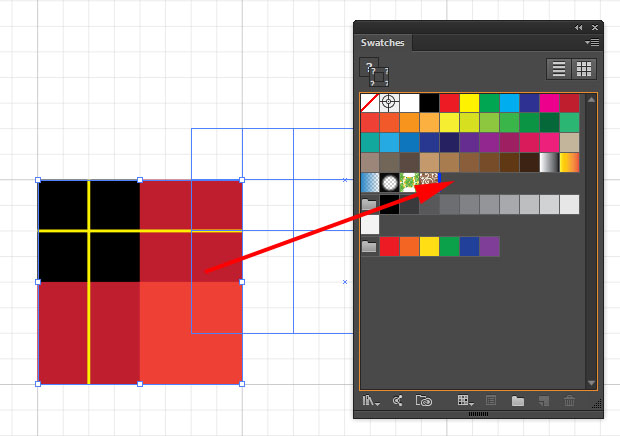
8. Zoom Out and draw a large shape, switch to the fill color and use the new plaid swatch as the fill.
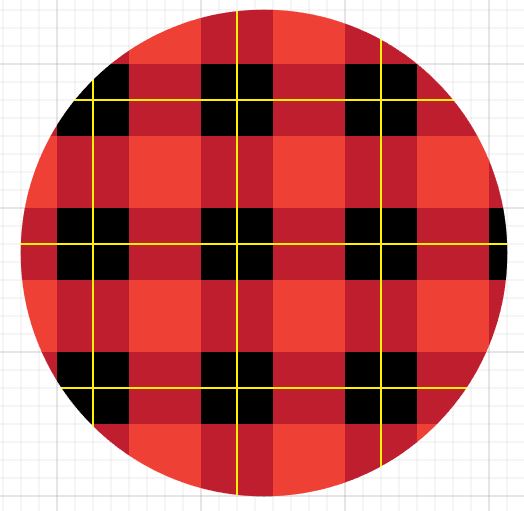
Have fun experimenting with this one!
Photoshop, Illustrator and InDesign Tutorials
