
In the first part of this tutorial we set up a document and placed a text frame that held a pull quote. In this second part we’ll add the sexiest part of pull quotes – the actual quote marks – and customize how they look.
Here’s where we left off in the last tutorial.

Now we have to add the actual quote marks.
1. Zoom into the pull quote box, set your cursor before the first letter and type the quote mark – it will take on the typeface, size and leading of the pull quote. Typically the quote will be oversized, so go ahead and try to make the size larger – you will notice that it completely messes up our alignment. You can try to drop the baseline shift to bring the quote back down and reset the alignment but this can also get cumbersome. So lets scrap that attempt and try something else.
2. In order to keep our hard earned alignment, we’ll turn just the quote marks into graphics and insert the graphics to run inline with the pull quote text. Make a separate text box on the art board and set the type to Taller Evolution and the size to 100, the leading doesn’t matter for this. Select the type box and go to TYPE menu > CREATE OUTLINES to make a graphic from the text.

The quote marks for this typeface aren’t great – we’ll make our own version based on them in Illustrator – but we’ll use these for now for sizing.
3. Copy the graphic – EDIT menu > COPY and then set your cursor before the first word in the pull quote and go to EDIT menu > PASTE. This will insert the graphic as an anchored object.
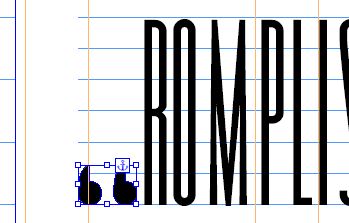
With the black arrow, select the anchored object and scale it up from one of the corners (hold the shift key down to keep it in proportion) and make it the same height as the text.
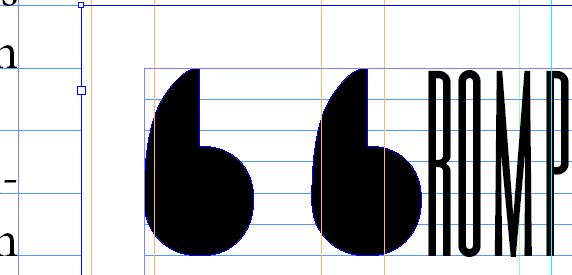
4. Select the newly resized quotes with the black arrow and cut them – EDIT menu > CUT. Open up Illustrator, make a new document and paste them in – the quotes will come in at the exact size we scaled them. They’re also vector objects so Illustrator treats them like any Illustrator object. The only thing we’ll keep from these, however is the height. In Illustrator turn on the rulers – VIEW menu > RULERS > SHOW RULERS and drag two horizontal guides down to touch the top and bottom of the quote mark graphics.
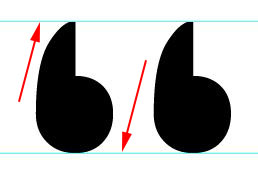
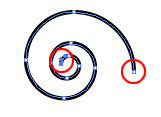
5. Open the spiral tool (hold your mouse button on the line segment tool to get to it) Click on the screen and enter the following parameters.
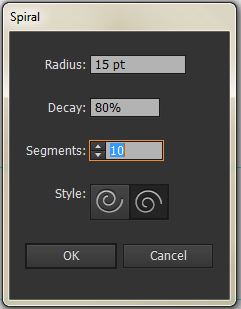
With the pen tool, click on the end point inside the spiral and then connect it to the endpoint at the outside of the spiral.
With the shape still selected open the pathfinder panel – WINDOW menu > PATHFINDER and unite the entire shape.
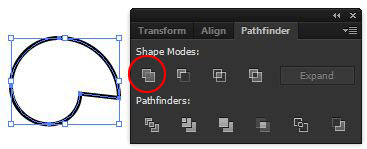
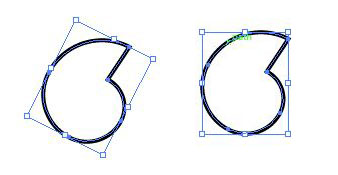
6. Rotate the quote mark shape on screen to make it so that the straight portion is at about 60 degrees. Go to OBJECT menu > TRANSFORM > RESET BOUNDING BOX to square up the bounding box making it easier to scale to our guides.
7. Scale the new quote mark to the height of the guides, make a copy and change the fill to black and the stroke to none.
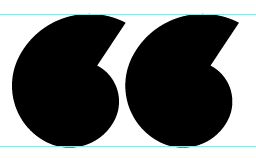
8. Copy the new graphic and paste it as an anchored object into the pull quote box (this is one of the few times you will actually cut and paste graphics into InDesign). Scale the graphic down a little bit if it is messing up your text alignment. From here you can change its color as well.
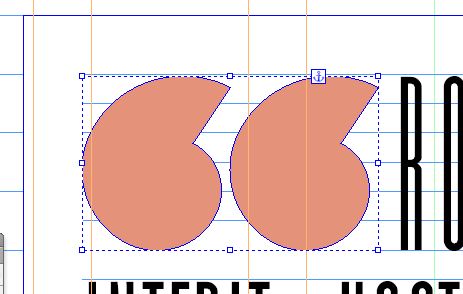
9. To put in an end quote, select the graphic, copy it and paste it at the end of the text. You will need to rotate it 180 degrees to make it the correct orientation – this can be done using the rotation angle in the control panel up at the top of your screen. If you choose to scale it down, scale from a corner while holding down the shift key, then highlight it with the type tool and use the baseline shift to move it to align with the tops of the letters.
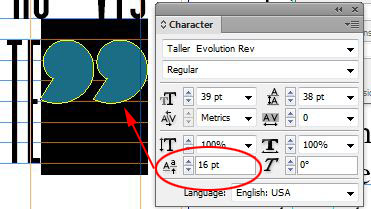
10. If you need to introduce some space in between the graphic and the text use the TYPE menu > INSERT WHITE SPACE > and select hair, sixth or thin space.


Pingback: Sexy Pull Quotes pt.1 | Nick Cassway's designBLOG