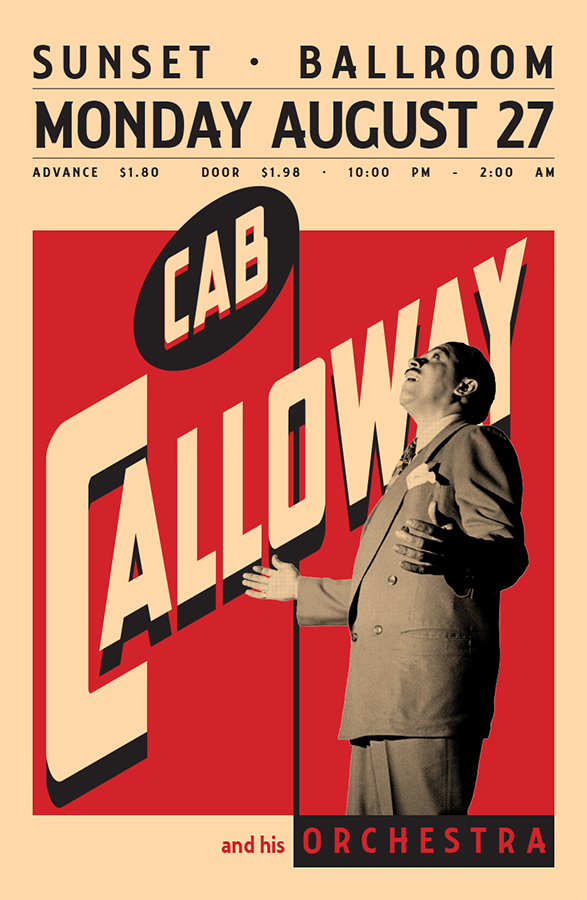
For this InDesign tutorial we will be making a vintage music poster for Cab Calloway. Now, first off, if you don’t know the music of Cab Calloway I suggest you check out these links – Minnie the Moocher, St. James Infirmary, Hi De Ho Man. – and put them on in the background while doing this tutorial.
The tutorial has a lot of steps but is not too complex.
1. Download and install the following two fonts: Collegiate and New Comic Title
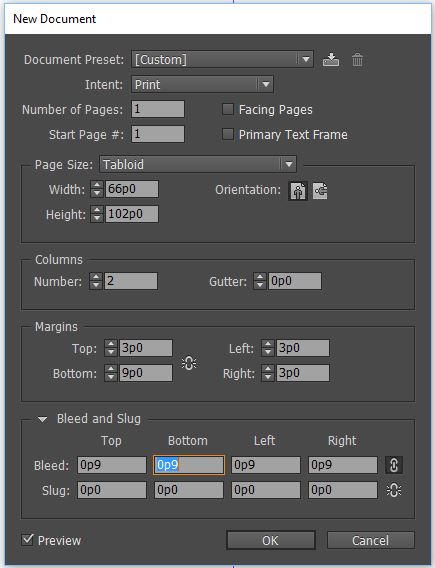
2. Make a new document with Facing Pages, unchecked, Tabloid size (11×17), 2 columns 0p0 gutter, margins 3p0 top, left and right. 9p0 bottom and 0p9 bleeds.
3. Go to the LAYOUT menu > CREATE GUIDES, add 4 rows with a gutter of 1p0 fit the guides to the margins.

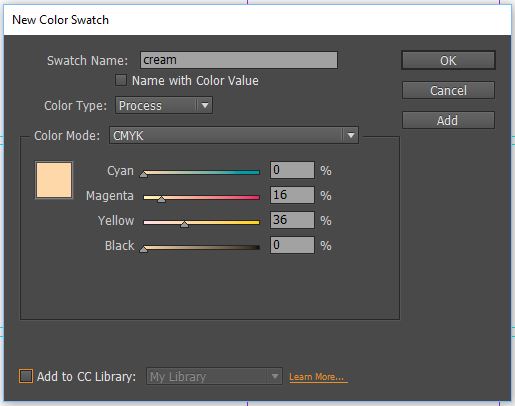
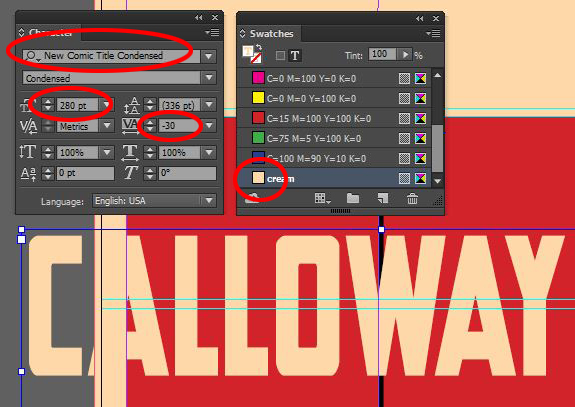
4. Go to the Swatch Panel, then click on the menu to make a new swatch with the following c=0 m=16 y=36 k=0 name it Cream.
5. Using the rectangle tool, make a rectangle with Cream as the fill , and none for the stroke to fill entire area within the bleed marks.

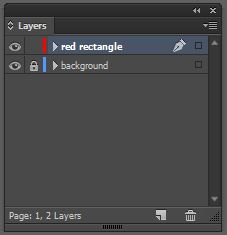
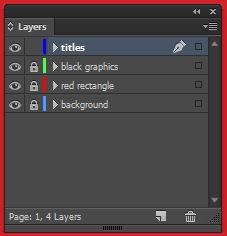
6. Rename layer 1 background, and lock it. Make a new layer and name it red rectangle.
7. Make a rectangle with a the default red swatch fill and none for the stroke from the bottom of the top row to the bottom margin within the left and right margins.

8. Lock the red rectangle layer and make a new layer call it black graphics.
9. Click on the line tool, change the stroke color to black and the fill to none. Draw a line from the center of the red shape’s top to the bottom rectangle. Change the stroke width to 8, Select the line with the black arrow tool and on your keyboard hit the right arrow key 4 times (this will move the line over 4pts to align the left side of the 8pt stroke with the center line)
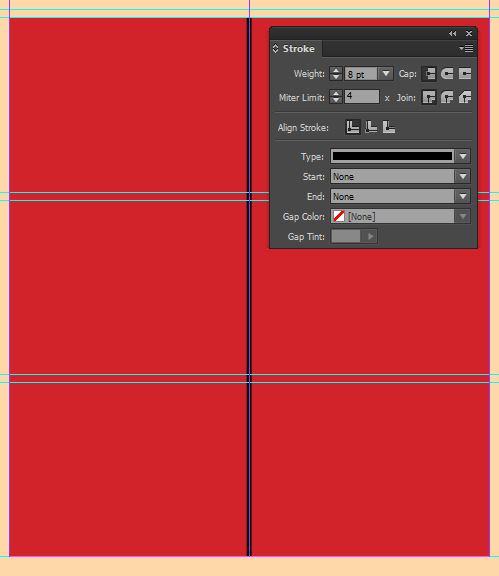
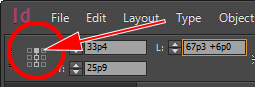
10. With the line selected, go to the measurements bar (below the menu), change the reference point to the top center and in the field for L add 6p0 (1 inch) to the length – this can be written as the equation 67p3 + 6p0, InDesign will do the math for you!
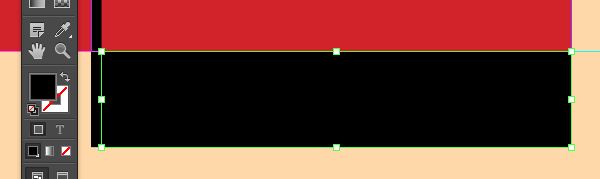
11. In the bottom right, draw a rectangle with a black fill and no stroke from the bottom of the black line to the bottom right corner of the red rectangle – (the black rectangle will snap to the bottom of the line if the VIEW menu > GRIDS & GUIDES > SMART GUIDES is on)
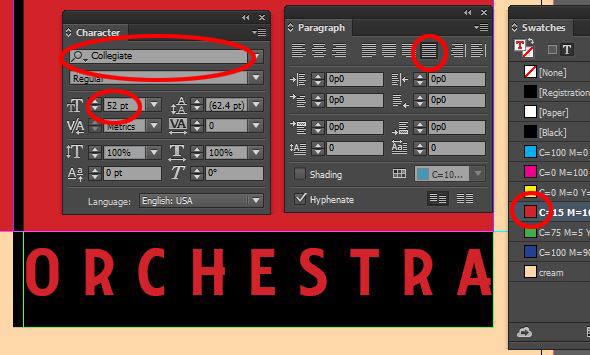
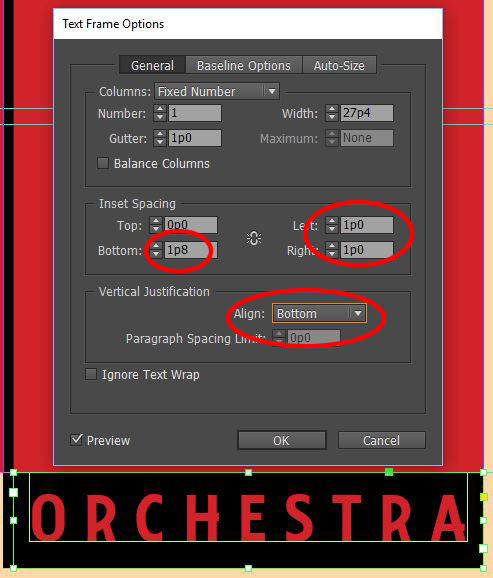
12. With the type tool, click on the black rectangle to activate it as a text frame. In the character panel change the font to Collegiate and the size to 52pts, In the swatches panel change the fill color for the type to the default red swatch. In the paragraphs panel change the alignment to all lines justified. Type in all caps ORCHESTRA
13. With the text box selected go to the OBJECT menu > TEXT FRAME OPTIONS for inset spacing change the left and right inset to 1p0 and the bottom to 1p8. Change the vertical alignment to bottom.
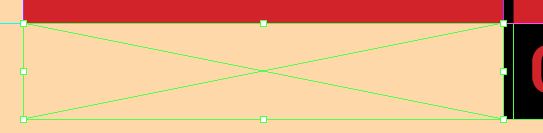
14. Make a content frame ![]() on the left hand side starting at the bottom of the black line to the bottom left corner of the red rectangle.
on the left hand side starting at the bottom of the black line to the bottom left corner of the red rectangle.
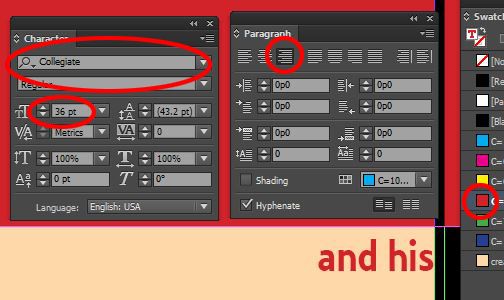
15. Click in the content frame with the type tool, change the font to Collegiate and size to 36. Change the fill color to red and in the paragraph panel change the alignment to right. Type “and his”
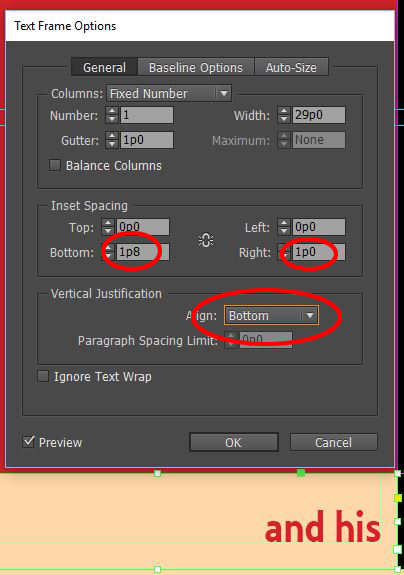
16. With the frame selected go to the OBJECT menu > TEXT FRAME OPTIONS change the right inset to 1p0 and the bottom to 1p8. Change the vertical alignment to bottom.
17. Lock the black graphics layer and make a new layer, name it Titles.
18. Draw a large content frame, wider than the poster and about 4″ or 48p0 high. Click in it with the type tool, change the font to New Comic Title, the font size to 280, adjust tracking to -30 in the swatches panel change the fill color to the cream Type CALLOWAY
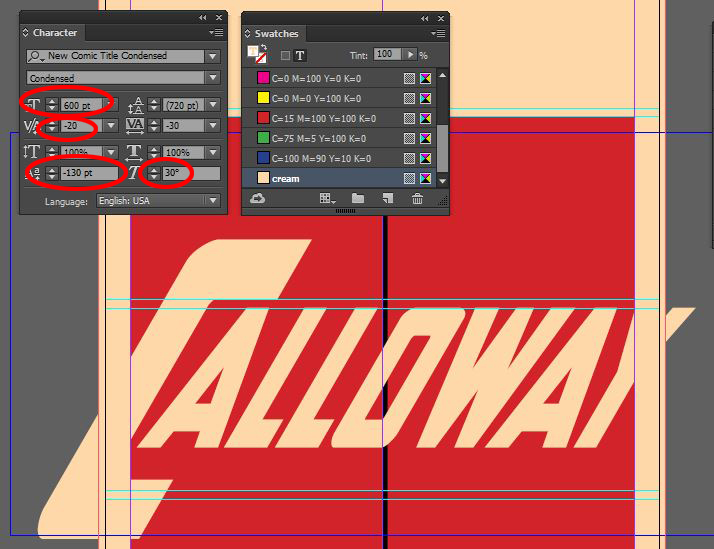
19. Change the height of the first letter to 600pts, and change the baseline shift to -130pts, place your cursor between the C and the A and adjust the kerning to -20 (this will draw the two letters closer together.) Select all of the text and change the Skew (false Italic) to 30 degrees.
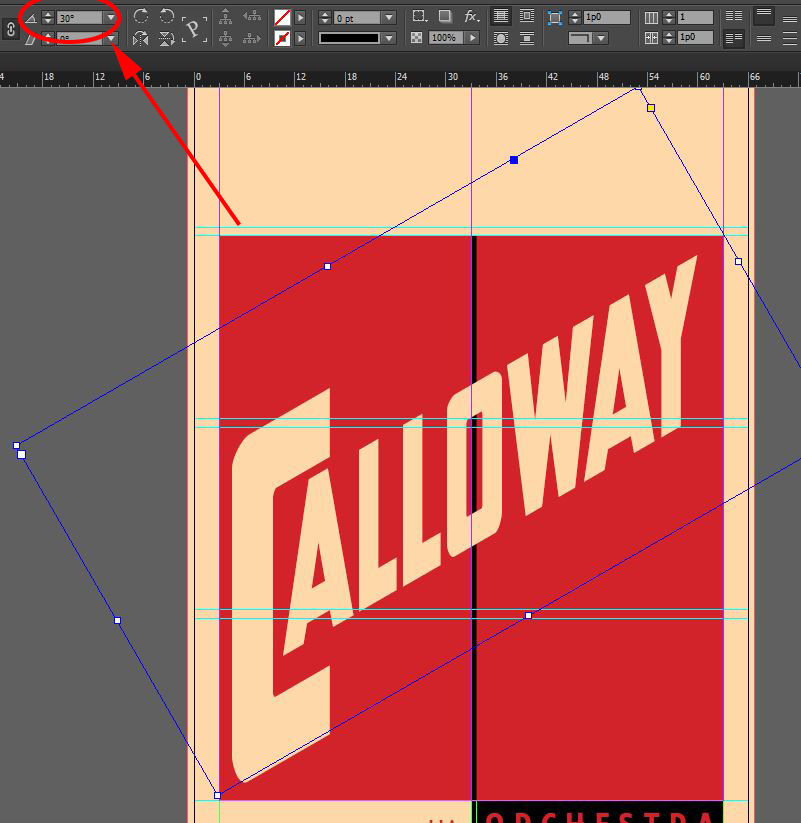
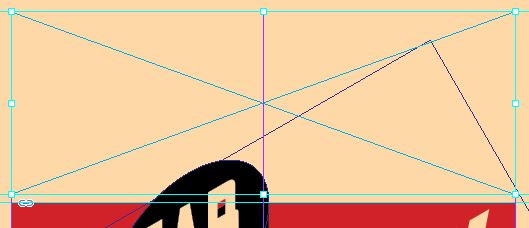
20. Select the text frame with the black arrow and in the measurements bar change the rotation angle to 30 degrees – this will make all vertical elements that were previously skewed perfectly vertical. Move the text frame so that all of the letters fit inside the red rectangle and the black line is centered within the O.
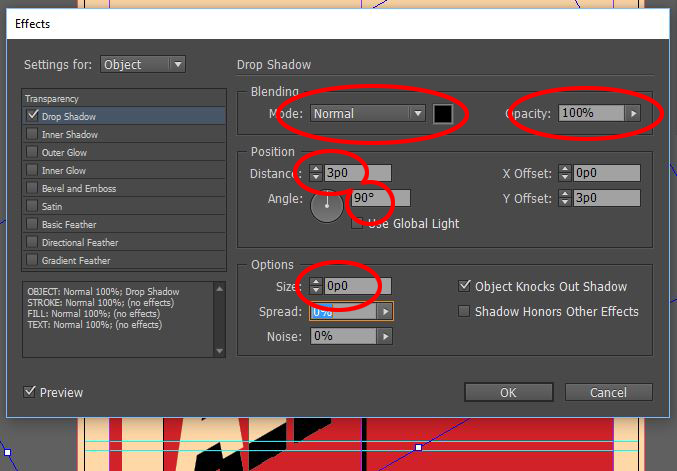
21. With the text frame still selected go to the OBJECT menu > EFFECTS and click on drop shadow. Change the shadow color to Black with Normal blending at 100% , the distance to 3p0, angle 90 degrees and the size to 0, this will generate a silhouetted shadow.
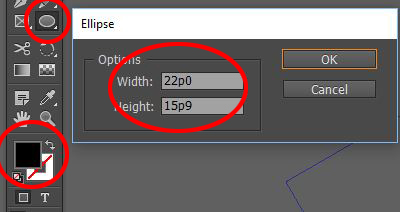
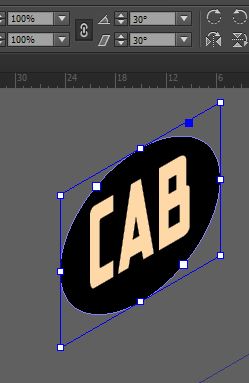
22. Select the ellipse shape tool on the toolbar. Change the fill color to Black and the stroke to None and click anywhere on the screen, use 22p0 for the width and 15p9 for the height.
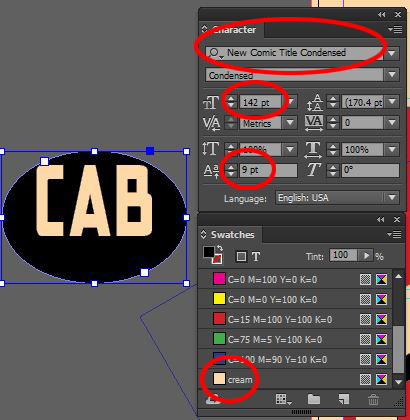
23. Click in the shape with the type tool, set the font to New Comic Title, the height to 142, baseline shift to 9pt color to cream and set alignment to center in the paragraph panel. Type CAB
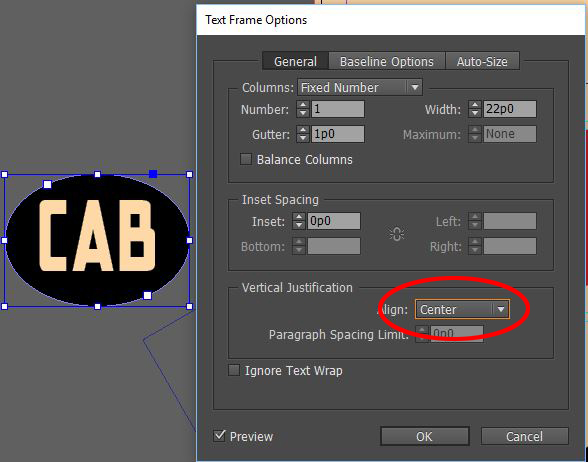
24. Go to the OBJECT menu > TEXT FRAME OPTIONS and change the vertical alignment to center.
25. With the ellipse selected go to the measurements bar and change the rotation to 30 degrees and the skew to 30 degrees.
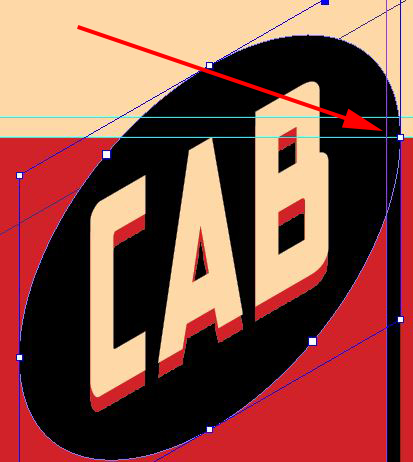
26. Move the ellipse so the the center of the bounding box on the right meets the top of the black line.
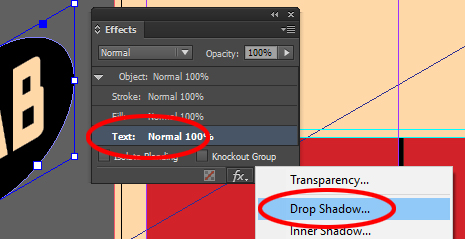
27. Select the text frame with the white arrow and go to the WINDOW menu > EFFECTS, in the list that pops up click on text (we only want to apply a shadow to text not the whole shape) and then click on the fx icon and then click on Drop Shadow. Change the Drop Shadow settings to blending mode Normal, color to Red, opacity 100%, distance 0p9, angle 90 degrees and size 0.

28. Lock Titles layer and make a new layer and call it Cab. Download this photoshop file (the photo has a transparent background)
29. Make a content frame the same size as the red rectangle. Select it with the white arrow and go to the FILE menu > PLACE and select Cab02.psd, with the white arrow and position the graphic so that Cab’s head is over the last A, you can use the arrow keys on your keyboard to do fine positioning.

30. Lock Cab layer, make a new layer and call it Info. Make a content frame in the top row area.
31. Click in the content frame with the type tool and copy and paste the following text
sunset ballroom
monday august 27
Advance $1.80 Door $1.98 10:00 PM – 2:00 AM
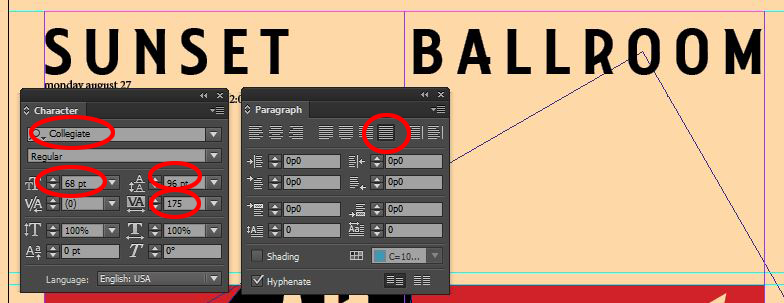
32. Change sunset ballroom to Collegiate at 68pts with 96pts leading, tracking 175, all caps and in the paragraph panel justify all lines.
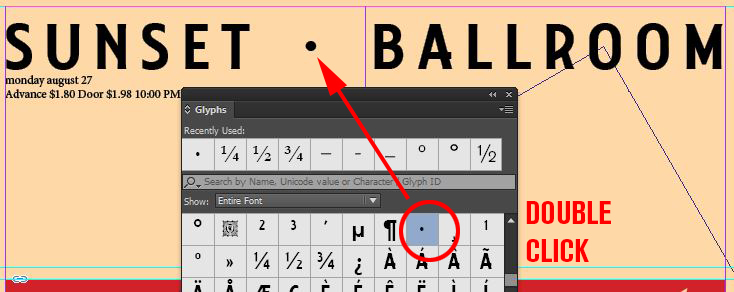
33. Place your cursor between sunset and ballroom and then go to the TYPE menu > GLYPHS (a glyph is any character or symbol, this panel will reveal all characters designed for this typeface) In the Glyphs panel make it show Entire Font, then scroll down a bunch of lines to find a bullet (a small dot centered vertically – for this font it is next to the paragraph symbol) and then double click it to place it in the text, add a space after it.
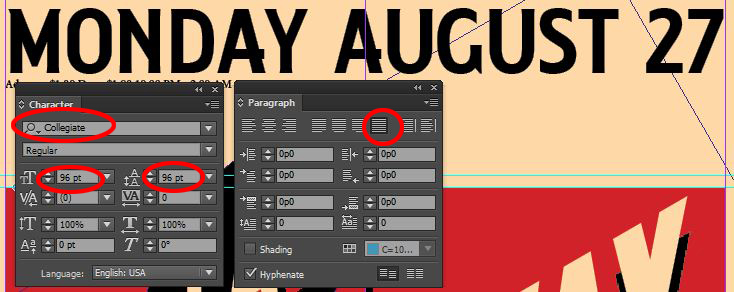
34. Change Monday August 27 to 96pt Collegiate, 96pts leading, All caps and justify all lines in the paragraph panel.
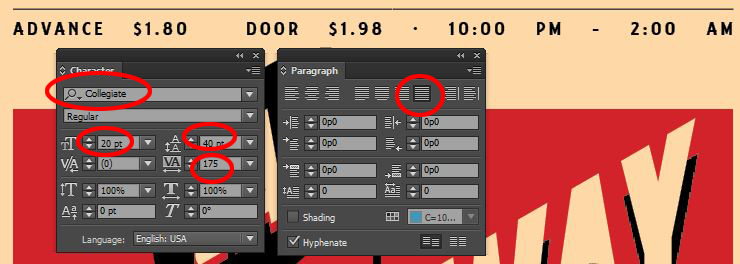
35. Highlight the last line, change to Collegiate 20 pts with 40pts leading, 175 tracking all caps, justify all lines. Place another bullet character in between the price and the time.
36. Because we used justify all lines all of the text is spread out evenly but we want to change it so that the extra space is made up between the information. Place your cursor between $1.99 and door and then go to the TYPE menu > WHITE SPACE > FLUSH SPACE, do the same between $1.98 and the bullet, and the bullet and 10:00PM
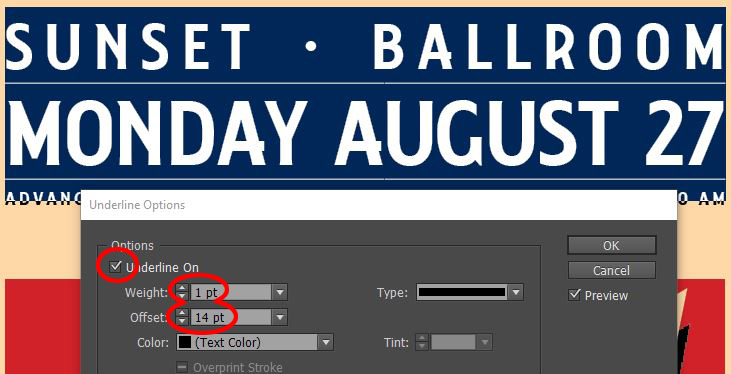
37. Highlight the top two lines and then go to the CHARACTER panel’s menu and click on Underline Options. Click the box next to Underline On, change the weight to 1pt and the offset (the distance from the baseline of the text) to 14pts.
38. Go to the FILE menu > EXPORT and export it as a PDF (print)
Photoshop, Illustrator and InDesign Tutorials
