
There are lots of ways to use text as design elements in InDesign. This tutorial will only touch the surface of ways to do this.
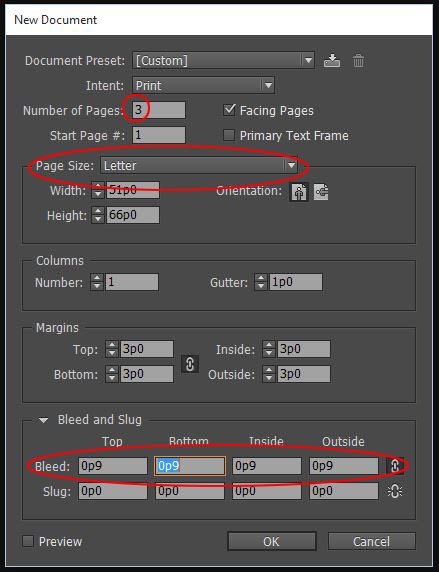
1. Create a new document in InDesign with 3 facing pages letter size (8.5 x 11) and op9 (1/8″) bleed
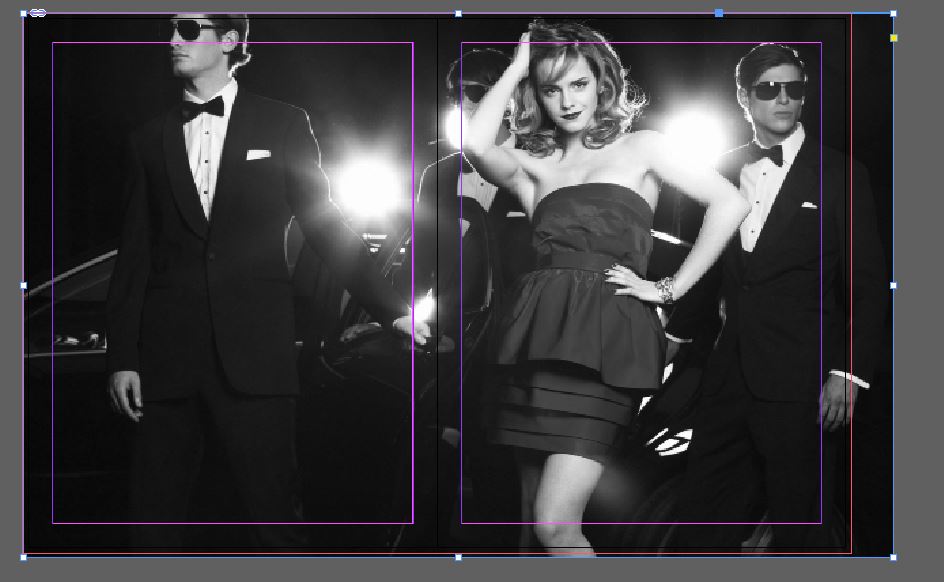
2. Zoom out and place the Emma Watson picture (link here) over top the entirety of the page 2 and 3 spread from bleed to bleed – trim the picture as necessary.
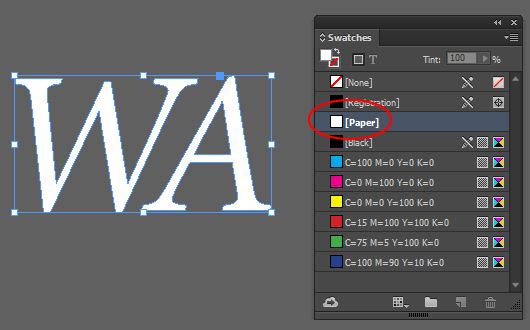
 3. Zoom into the artboard and make a large text box and type WA (the first two letters of Watson) using Minion Pro Italic (or another serif typeface of your choosing.) Change the font size to 72pts and make the kerning (spacing between pairs of letters) -200
 4. With the black arrow select the text box and go to the TYPE menu > CREATE OUTLINES. Your letters are no longer type, they are vector shapes describing the letterforms. Change the fill color to Paper (white)
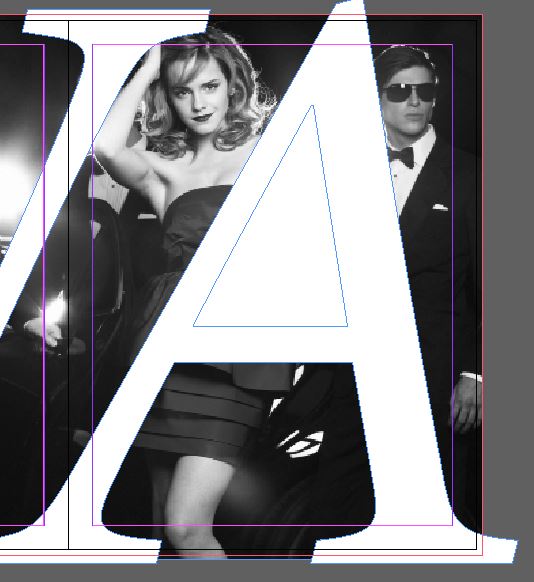
 5. Zoom out so you can see the page 2 and 3 spead in your window. Take the WA letterforms, drag them over the the spread and scale them up using the SHIFT key so that they fill the entirety of the spread (including bleeds) and more. The goal is to reveal Emma Watson’s face between the W and the A and to have the letterforms completely bleed off the document.
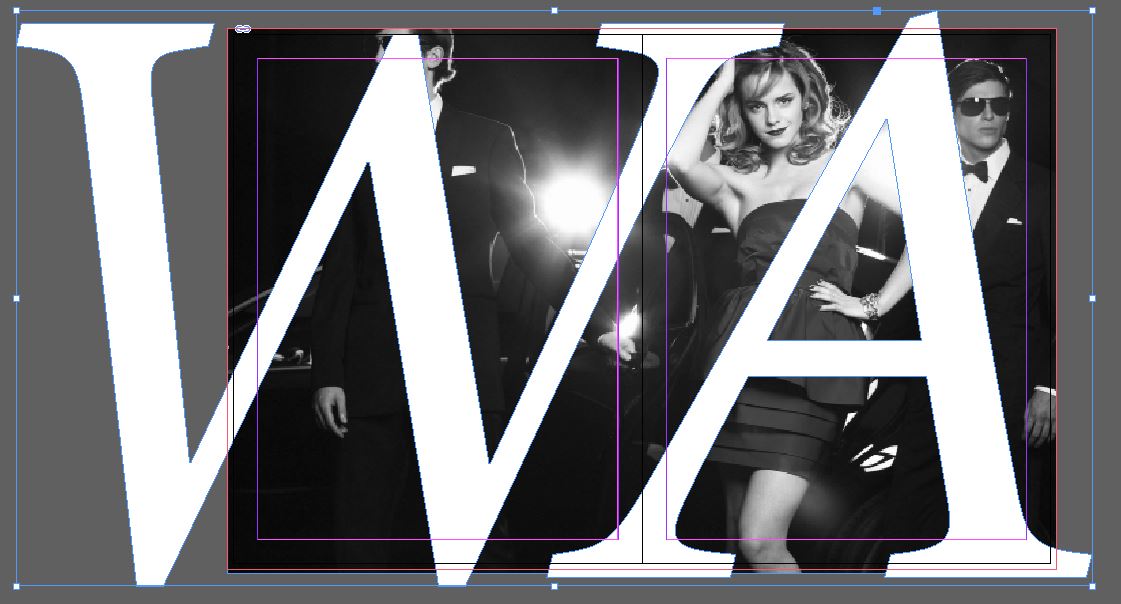 6. Select the letterforms and go to the OBJECT menu > PATHS > RELEASE COMPOUND PATHS. This will release the inner triangle from the A which we use to create a text box from.
 7. Select just the inner triangle with the Black Arrow and copy it.
8. Select both shapes that make up the A and turn it back into the letter A. OBJECT menu > PATHFINDER > SUBTRACT
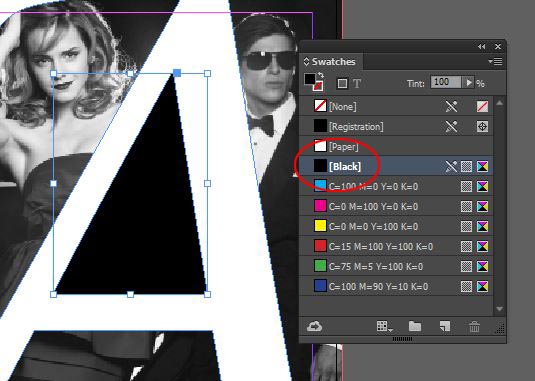
9. Go to the EDIT menu > PASTE IN PLACE to place the inner triangle back into the spread at exactly the same place we copied it from. After you place it back in change the fill to Black.
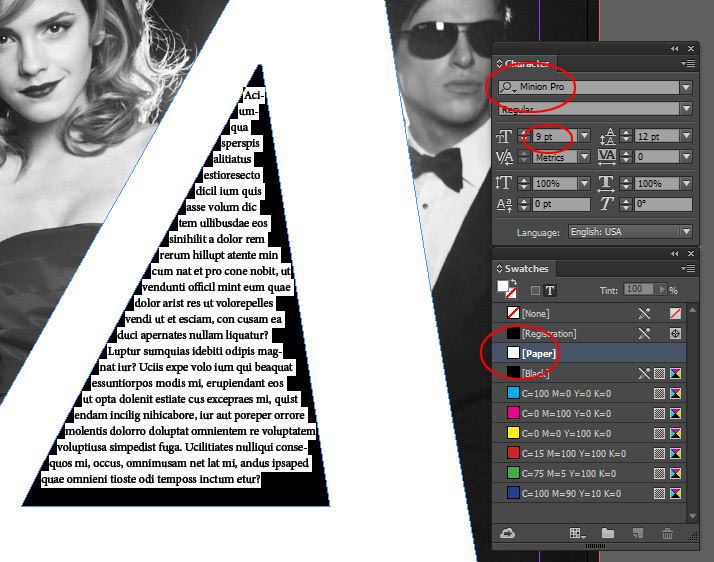
 10. Zoom into the triangle, with your Type tool click on the triangle to make it a text frame.
11. Change the type to Minion Pro Regular 9pts with 12 pt leading, change the fill color to white and go to the TYPE menu > FILL WITH PLACEHOLDER TEXT
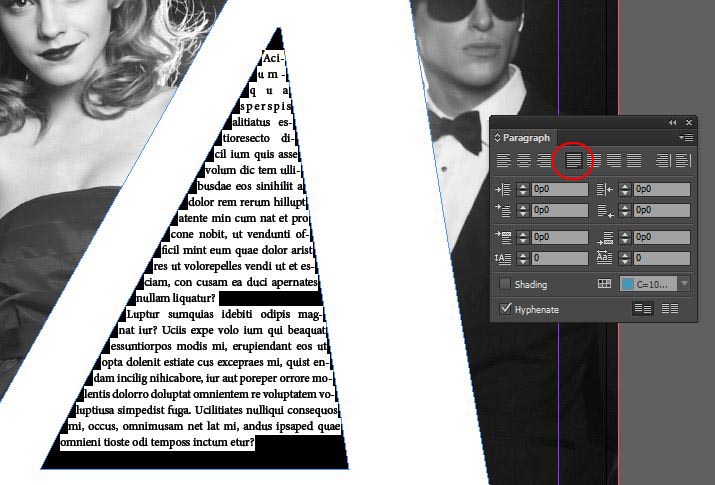
 11. Select all of the text and change the text alignment to Left Justified.
12. To give the type some space away from the edge of the frame select the text frame and go to the OBJECT menu > TEXT FRAME OPTIONS and change the Inset Spacing to 0p6 (6 pts)
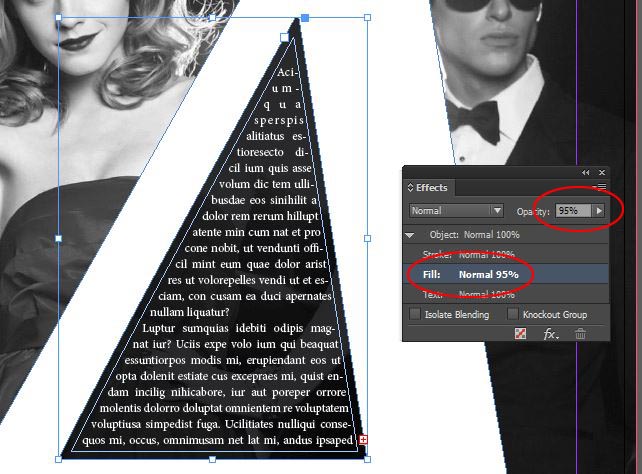
 13. Select the text frame and open the Effect Panel – WINDOW menu > EFFECTS. Select Fill in the list of attributes for the object selected and change it to 95% – this will allow you make the fill partially transparent but leave the type at full opacity.
 The finished spread
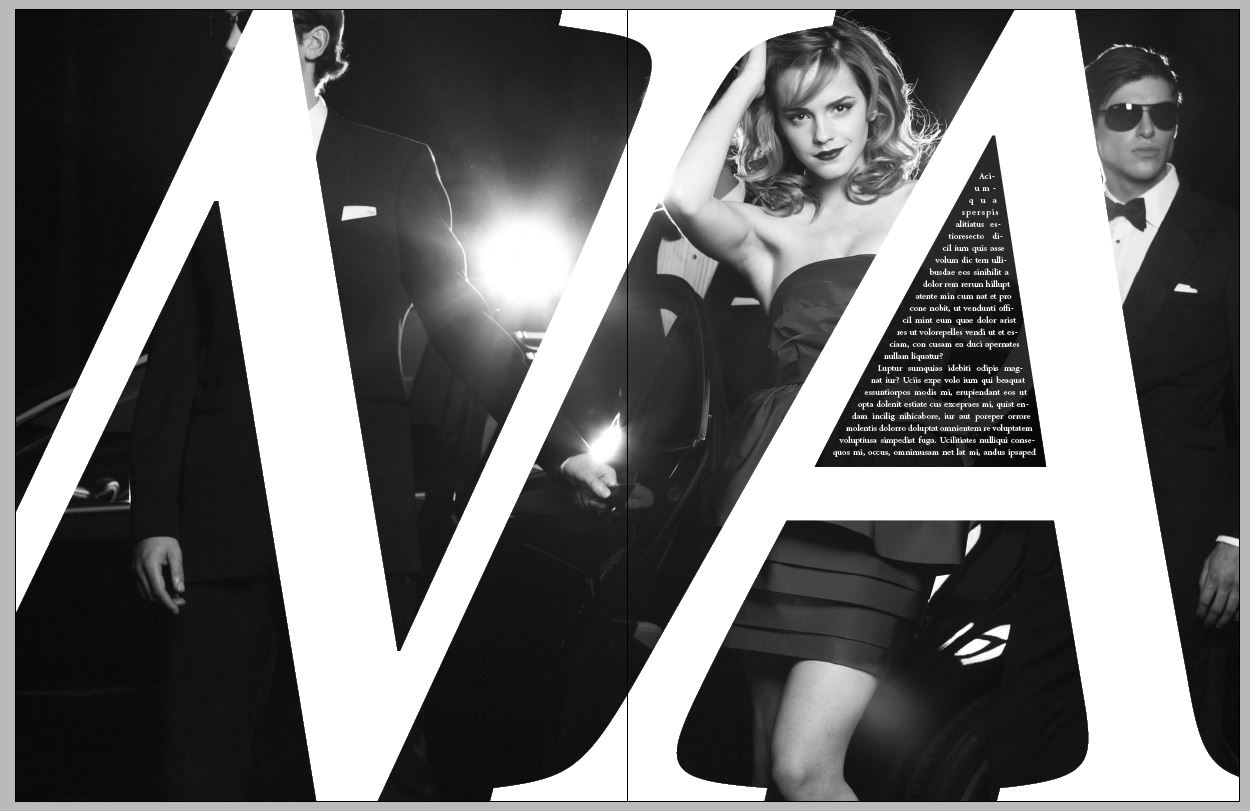
Photoshop, Illustrator and InDesign Tutorials
