
There are a number of reasons to create an image comprised of only two colors – it may work within your color palette or you may need an expressive graphic image that can have text placed on top of it and be easily read. Below is a very easy way to make a two-tone image using adjustment layers allowing for endless possibilities.
1.Open an image in Photoshop or use this one, if using a color image you will need to create a black and white adjustment layer first and make all necessary adjustments to bring out the detail of the image (you can always modify it later on because it is an adjustment layer)
2. Make a brightness and contrast adjustment layer. I’m not making adjustments to this yet as I’m not sure what the resulting image will look like, its just here as an insurance policy.

3. Next, select your color palette. This technique works best with two colors with a lot of saturation but

4. Make a Solid Color adjustment layer and use #5F4B8B (Ultra Violet) as the color. Change the Blending mode

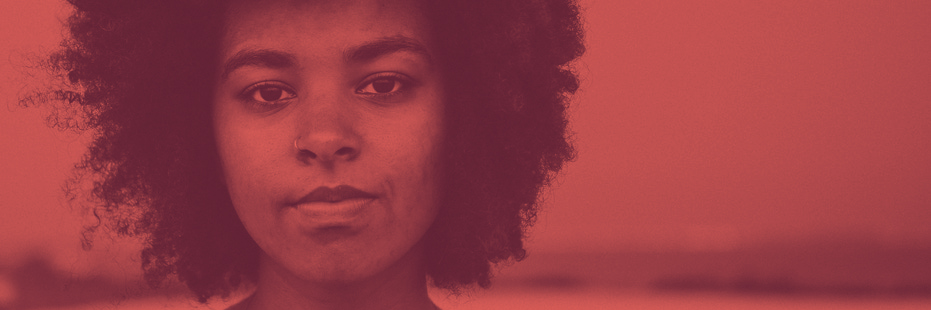
5. Make another Solid Color adjustment layer and use #FF6F61 (Living Coral) as the color. Change the Blending mode to Multiply. Multiply will blend with anything lighter than the fill color.

6. Adjust the Brightness and Contrast adjustment layer to modify the tonal values and contrast of the base image.

The image can have bold, bright text placed on top of it and will maintain its dramatic appearance.
