

More in an ongoing series of super simple repeats.
1. Go to the VIEW menu > SHOW GRID and VIEW menu > SNAP TO GRID
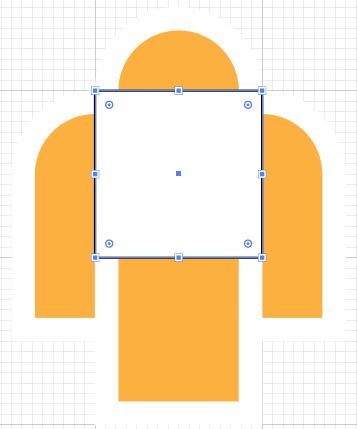
2. Draw a 1 inch square within 1 major grid square (darker gray lines)

3. With the square still selected go to EDIT menu > COPY
4. Draw a 1 inch circle in the grid square above.

5. Move the circle down to align center of the circle with the top of the square.

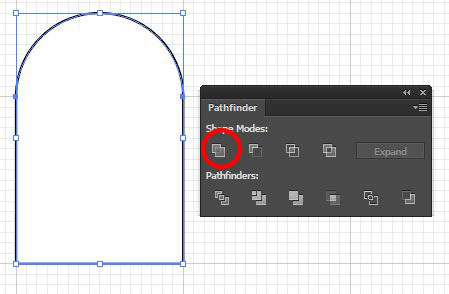
6. Open the Pathfinder panel – WINDOW menu > PATHFINDER – select both shapes with the Black Arrow and click the UNITE icon on the pathfinder.
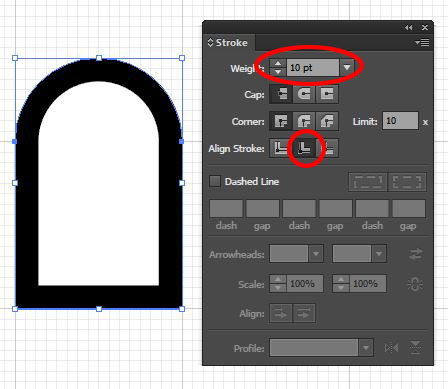
7. Open the Stroke panel – WINDOW menu > STROKE – and change the weight to 10 pts and align the stroke to the inside of the path
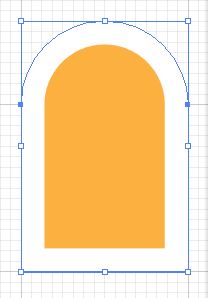
8. Change the Stroke color to White and fill color to something of your choosing
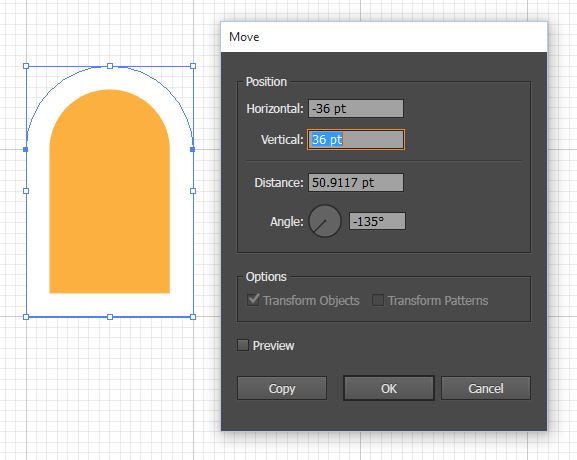
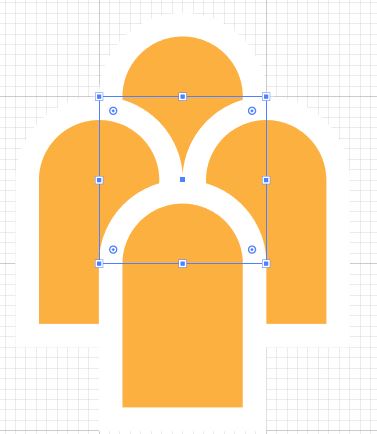
9. Select the shape, double click the black arrow, change the horizontal position to -36pts and vertical to 36pts, click copy.
10. Select the newly created shape, double click the black arrow, change horizontal to 72 and vertical to 0, click copy

11. Select the newly created shape, double click the black arrow change the horizontal position to -36pts and vertical to 36pts, click copy.

12. Go to the EDIT menu > PASTE IN PLACE – this will paste in the copied square in exactly the same position it was copied from.
13. Change the properties of new square to none for the fill and stroke
14. With the unpainted square still selected go to the OBJECT menu > ARRANGE > SEND TO BACK
15. Open up the Swatches panel – WINDOW menu > SWATCHES. Select all 5 shapes and drag them to swatches panel.

16. Make a large shape, activate the fill and use your new pattern to fill in the shape.